For practice and performances (especially in the tribal style) you can never have too many backless choli tops. These tops have a solid front and an open back, with a band around the bottom that ties at the back of the rib cage, and straps at the shoulders that tie behind the neck. The good news is that these are actually fairly easy to make from an existing top! This tutorial will walk you through the simplest method (I’ll add pictures when I make another one of these tops). If you have more experience sewing, you can also make modifications to further customize your top (such as changing the neckline, sleeves, adding darts, etc).
These tops are great to make from simple t-shirts for practice, and fancier fabric (such as velvet) for performance. Keep an eye out at yard sales or your local thrift store and you should find lots of tops that would make great conversion projects!
Materials:
- Stretchy top that fits snugly (it shouldn’t be baggy, but it shouldn’t be super tight either – you should be able to move around without strain on the garment), has a neckline and sleeves that you like, and is long enough to provide extra fabric to make straps. (It should come down at least to your belly button, and it would be preferable if it came down to your hip bones or lower.) If your shirt is not long enough, you will need to find other fabric to make the straps.
- Scissors
- Pins
- Sewing Machine (that can do a zig zag stitch).
- Thread
- Ruler or Hem Gauge (optional, you’ll want one if you aren’t very comfortable with visually judging the size of things)
- Safety pin
The Process:
- Step 1: Mark and cut the new bottom of the shirt.
- Put on your top and mark with a pin where the rib cage band should be (you’ll want this solidly under your bust, so that the band will be secure and the top won’t ride up.)
- Take the top off, lay it out nice and straight, and mark a horizontal line half an inch down from where you pinned.
- Cut along your line, save the lower half of the shirt.
- Step 2: Mark and cut the back opening.
- Put the shirt back on. Mark with a pin (on one side) at the bottom edge of the shirt, where you’d like the back opening to be. (Some people prefer a narrow opening in the back, while others prefer it wide.)
- If you want the opening to be narrow, also mark (on the same side) on the collar where the back opening should be. (For a standard or wide opening, we will always have the opening start where the shoulder seams are, so there is no need to mark the top edge.)
- Take the top off, and match up (and pin) the following points: shoulder seams at collar, side seams at arm pit, sleeve seams along back of the arm hole, side seams down to the bottom edge of the top.
- Lay the top out so that there is a fold at the center back and your pinned marks from before are facing up so you can see them. (You will cut through both sides of the back at the same time so that they match.)
- Mark a line starting half an inch (toward the center) from your lower mark to half an inch (toward the center) from your upper mark or the shoulder seam at the collar.
- Cut through both layers along this line.
- Step 3: Hem the back side edges.
- Fold the edges you just cut under half an inch, pin them in place, and stitch them down using a zig zag stitch (this will allow them to retain some extra stretch without popping stitches).
- You can use a straight stitch for looks, if the top is not so snug that you are concerned about these edges needing to stretch much.
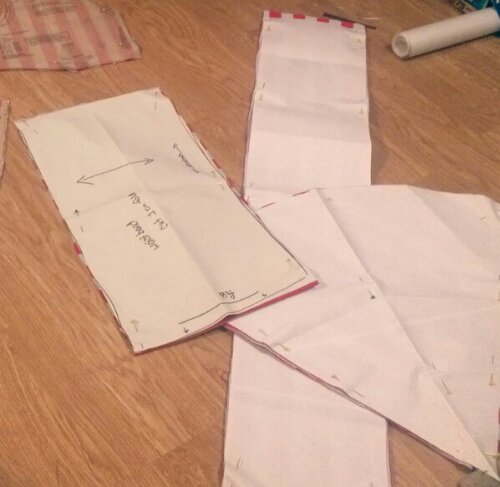
- Step 4: Measure and cut straps.
- Grab the bottom portion of the shirt that you retained from Step 1.
- Mark three 3 inch wide bands across the shirt.
- Cut these bands from the shirt.
- Cut one of them on the side seams (so that you have 2 even sized shorter strips).
- Cut the other two on one of the side seams (so that you have 2 even sized long strips).
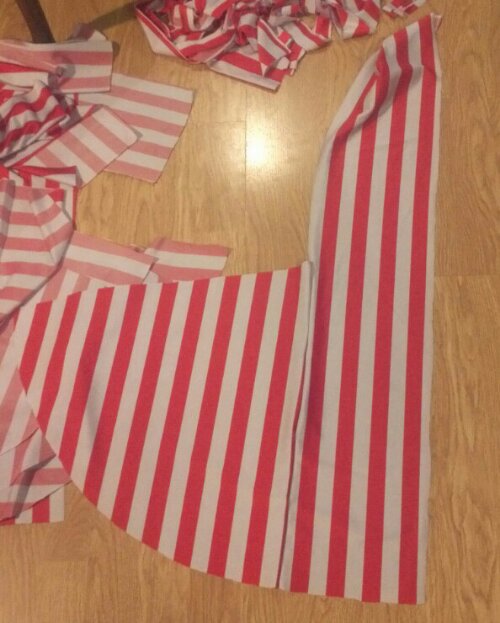
- Step 5: Assemble rib cage band.
- Take your two long bands and sew them together on one of the short ends (so that you have one very long strip).
- Step 6: Attach rib cage band.
- With the right sides facing one another, match the center of the long strip to the center front of the bottom edge of the top and pin.
- Pin the strip to the shirt along the bottom edge.
- Sew with a straight stitch (you don’t want this to stretch much, as you want to keep the shirt hem firmly down under your bust). Leave a half inch seam allowance.
- Stitch this seam twice if you are concerned about the strain it may be under.
- Start and stop stitching at the back side edges (don’t sew out onto the strap itself beyond the edges of the shirt yet).
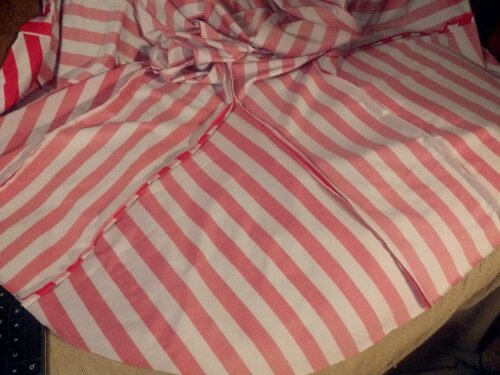
- Starting at the center front, fold the band over toward the wrong side of the top. Tuck in half an inch of the band, so that it seals up the seam you just made to attach the band to the shirt. Pin in place.
- Continue to fold over the band and pin in place along the bottom of the shirt.
- Also fold, tuck in the seam allowance, and pin the rest of the straps on either side of the shirt.
- Stitch again along the full length of the straps to close them up (twice for extra strength if needed).
- Tuck the ends in and stitch to seal the ends on each side.
- Step 7: Assemble shoulder ties.
- Get the two shorter strips from Step 4. Repeat these steps for each one.
- Fold it in half down the length of the pieces (right sides together).
- Pin the long edges together.
- Stitch with a straight stitch down the long edges to make two tubes.
- Turn the tubes right side out (pin a safety pin to one end of the tube, and then feed it (with the rest of the tube following it) back through the tube and out the other end).
- Tuck the short ends in (on one end of the tube) and stitch closed.
- Step 8: Attach shoulder ties.
- Take the open end of one of your tubes and pin it in place at the top edge of the back opening.
- Stitch securely by sewing over the area multiple times.
- Repeat on opposite side.
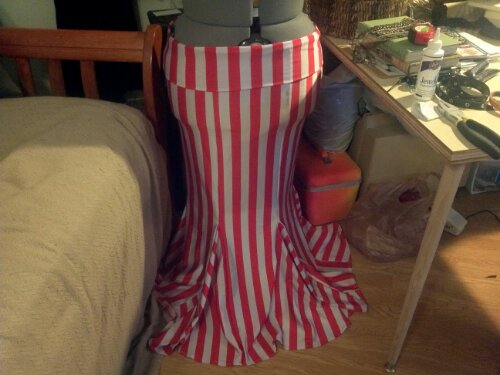
- Step 9: Try out your new top!
- It’s often easiest to tie the rib cage straps first to help hold the top up, then the shoulder straps, then adjust the rib cage again if needed.
- Once the shoulder straps are adjusted, you may want to leave them tied and just pull them over your head for future wearings.